Installing an OS using a virtualization software is a two-step process: building the VM just like assembling a PC, then the actual installation of the OS. This is a straightforward process and there shouldn’t be any hiccups. Just be aware about hardware criteria, especially RAM, Hard Disk Space, and type network to be used.
The hardware specs on my machine for running Sun VirtualBox and it’s created VMs are:
RAM = 8GB
CPU = AMD Athlon 64 X2 Dual-Core 6400+
Hard Disk = Seagate Barracuda 320GB SATA
Network Adapter = 802.11 N Wireless LAN Card (USB)
OS = Windows 7 Ultimate 64-bit
PART I – BUILDING THE VM
After VirtualBox’s installation (from an earlier article, December 2009), VirtualBox’s console should be opened marking our starting point:
 The VirtualBox console is empty because no VMs were ever created; as VMs are created, they get populated in the open white space.
Let’s get started!
1. Click on the New icon, which is located below File. A wizard should pop-up welcoming you to the “Create” a VM environment.

2. Click Next for the next step, which requires two pieces of data:
a. VM Name – Something specific to exercise or easy to remember. For example, DC1, since I plan on making this my domain controller.
b. OS Type – Select Microsoft for OS and Windows 2008 for version from the drop-down menus.

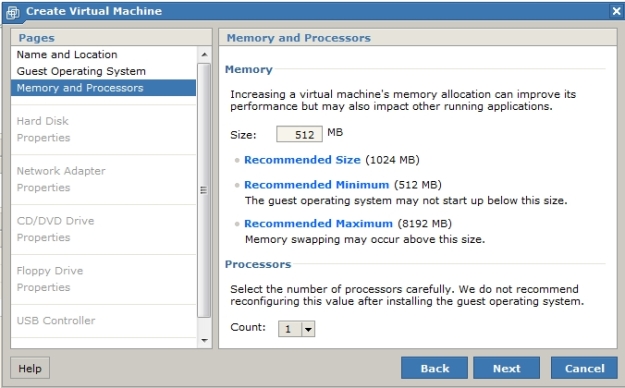
3. Click Next. Now it’s time for RAM adjusting. I am using the minimum RAM requirement for Windows Server 2008–512MB. You can specify any amount based on how much you have available for use. Just remember, when you start up the VM, RAM gets taken away from the host computer thereby affecting the host’s overall performance, especially if you have less than 1-2GB.
 4. Click Next. Now I am presented with options for the Virtual Hard Disk (VHD). I left the default options as shown in the picture below.
 5. Click Next. The “Create New Virtual Disk” wizard now pops-up. Click Next.
 6. Now I have to specify what my VHD storage type will be. It’s always good to choose “dynamic”. Dynamic simply means the size of the VHD changes as files/programs are added there until it reaches the specified amount, which in effect describes what is happening to the host’s physical drive. Space is gradually taken away from the host’s hard disk. The other option to allocate now means that the specified size is taken away from the host’s physical hard disk capacity right away.
 7. Click Next. Here I will specify VHD capacity and where to save the created VHD.
a. Location – you can choose anywhere. I saved mine on the hard drive that I use for virtualization.
b. Amount – minimum is 15GB if you do not plan on updating; I will use 40GB as I follow video tutorials for MCITP.
 8. Click Next, then Finish.
 9. After clicking on Finish from Step 8, VirtualBox will now present the Summary Page for the VM. All that’s left for us to do is click Finish.
 The VM has been created, and now populated in the console. Compare the first picture to this one.
 At this point, if you need to change some settings, simply click on any of the blue links under the Details tab or the Settings icon, thus bring up the Settings dialog box. Basically, it’s like building a computer from scratch.
 On to part 2.
PART II -INSTALLING THE OS
Before starting the OS installation process, I use ISO images rather than DVDs, so I need to specify the image’s location then start up the VM. It’s just like inserting the DVD then booting from it after the POST operation. The following steps are for ISO images only.
1. Click on the “Settings” icon.
2. In the picture below, select empty. The icon for empty is a disc. Information for the device is located on the right–CD/DVD Device: Empty. Why? The drive was not selected; this can be easily remedied by choosing the DVD-ROM from the drop-down list. In my case, I will click on the yellow folder, which is called the Virtual Media Manager.
 3. In this step, I will add the ISO image of the OS–in this example, Windows Server 2008. Click Add. This will bring up the location dialog box where you can point to the ISO to be used. In this instance, I added multiple ISO’s future use.
 4. After adding the ISO or multiple ISOs, it is time to select the one for the OS installation. Highlight the ISO that you will use and click select.
 5. Now I am back to the settings box where it said my CD/DVD was empty. Take a look now! It is no longer empty. It basically specifies what’s in the device. Click OK.
 6. I am now back at the console. Click Start or the Green Arrow to start-up the VM.
 7. As it starts, the BIOS screen loads up quickly then booting the ISO directly.


8. The Microsoft load bar will show up for a couple of seconds the a gray background will show up with the beginning of the Windows 2008 install.
 9. After verifying the information, click Next. The new screen simply asks to click to the “Install Now” button.
 10. This screen presents install versions for Windows Server 2008. I will choose the Enterprise version since most businesses will use this. You should choose the appropriate version for your server.
 11. Next up is the license agreement…accept the terms and click next.
 12. The next screen presents two installation options: Upgrade or Custom. Choose Upgrade if you going from a previous Windows Server OS or Custom for a fresh new installation. In this picture, I am only given one option, custom, since I have not used any other version or have any previous ones installed. Click on Custom to continue.
 13. After choosing the install type, now we have to select where to install the OS. In this picture, I have only one option for a disk, so click next. Remember, that I had created the VHD earlier, and now I will use that for the OS.
 14. The actual installation now begins…sit back and enjoy a cup of coffee.
 15. The computer will restart a couple of times before the “Welcome” screen appears. Before the welcome scree appears, the OS will ask for a password change for the Administrator account. Since this is the first time that Windows Server 2008 is installed, there is no old password. All I have to do is create a new password. Click OK to begin changing the password and confirm it.


16. When finished with the password reset, click on the arrow. There will be an acknowledgment that the password has been changed.
 17. The last step is to click OK. A wizard will appear where you can perform tasks such as, setting date and time, IP configuration, changing computer name, enabling windows update, etc.
That’s all she wrote folks!
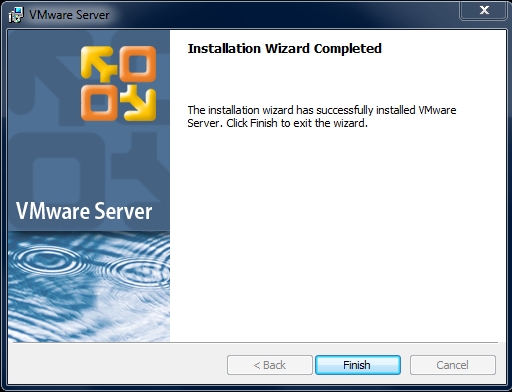
 From the two options that you are given here, choose Typical. Then click Next.
 From that icon, you can get to the VMWare console and start adding VMs. How did it go for you?